If you’ve never experienced Maker Faire before, the Benicia Mini Maker Faire would be a great introduction. It’s taking place at Benicia Middle School on Sunday, April 2nd from 10am until 4pm. And my family and I will be there to show you fun and fantastic things!
As its name implies, the Mini Maker Faire will be smaller than a flagship Maker Faire, which means you actually may get to see every amazing thing that will be there! ((We LOVE the super-huge Bay Area Maker Faire, but it is impossible to see everything and we always leave wishing it lasted for more than one weekend.)) For more information about what exactly a Mini Maker Faire is and what you can see and do at the Benicia Mini Maker Faire, visit benicia.makerfaire.com.
Here’s what my family and I will be showing at the Benicia Mini Maker Faire:
My husband is bringing his drawing robot that makes poster-size drawings. The robot draws slowly, but it’s very cool to watch the image take shape. For more information, visit his website plotterbot.com.
My 10-year-old daughter, ((I also have a 2-year-old daughter, which largely explains why I have not posted anything in a very, very long time!)) aka TinkerGirl, will be doing 15-second drawings and showing off the timer she made and programmed to count down, flash lights, and buzz after 15 seconds have elapsed. Visit her webpage to learn more.
My contribution is entitled “Upcycled Fun!” and entails two different kinds of upcycled projects.
The first project turns recyclable plastic containers into homemade shrink art. I’ll show you examples of what my family and I have created using washed recyclable plastic containers, scissors, Sharpies, and a warm oven. ((A hole punch and parchment paper are also convenient to have on hand, and you’ll need an oven-safe pan for baking your shrink art.)) It’s really fun and a great project to do with kids!
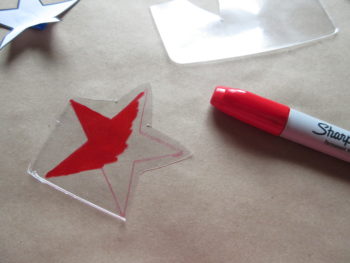
A homemade shrink art star in progress.

My daughter creating her own shrink art panda pendant.
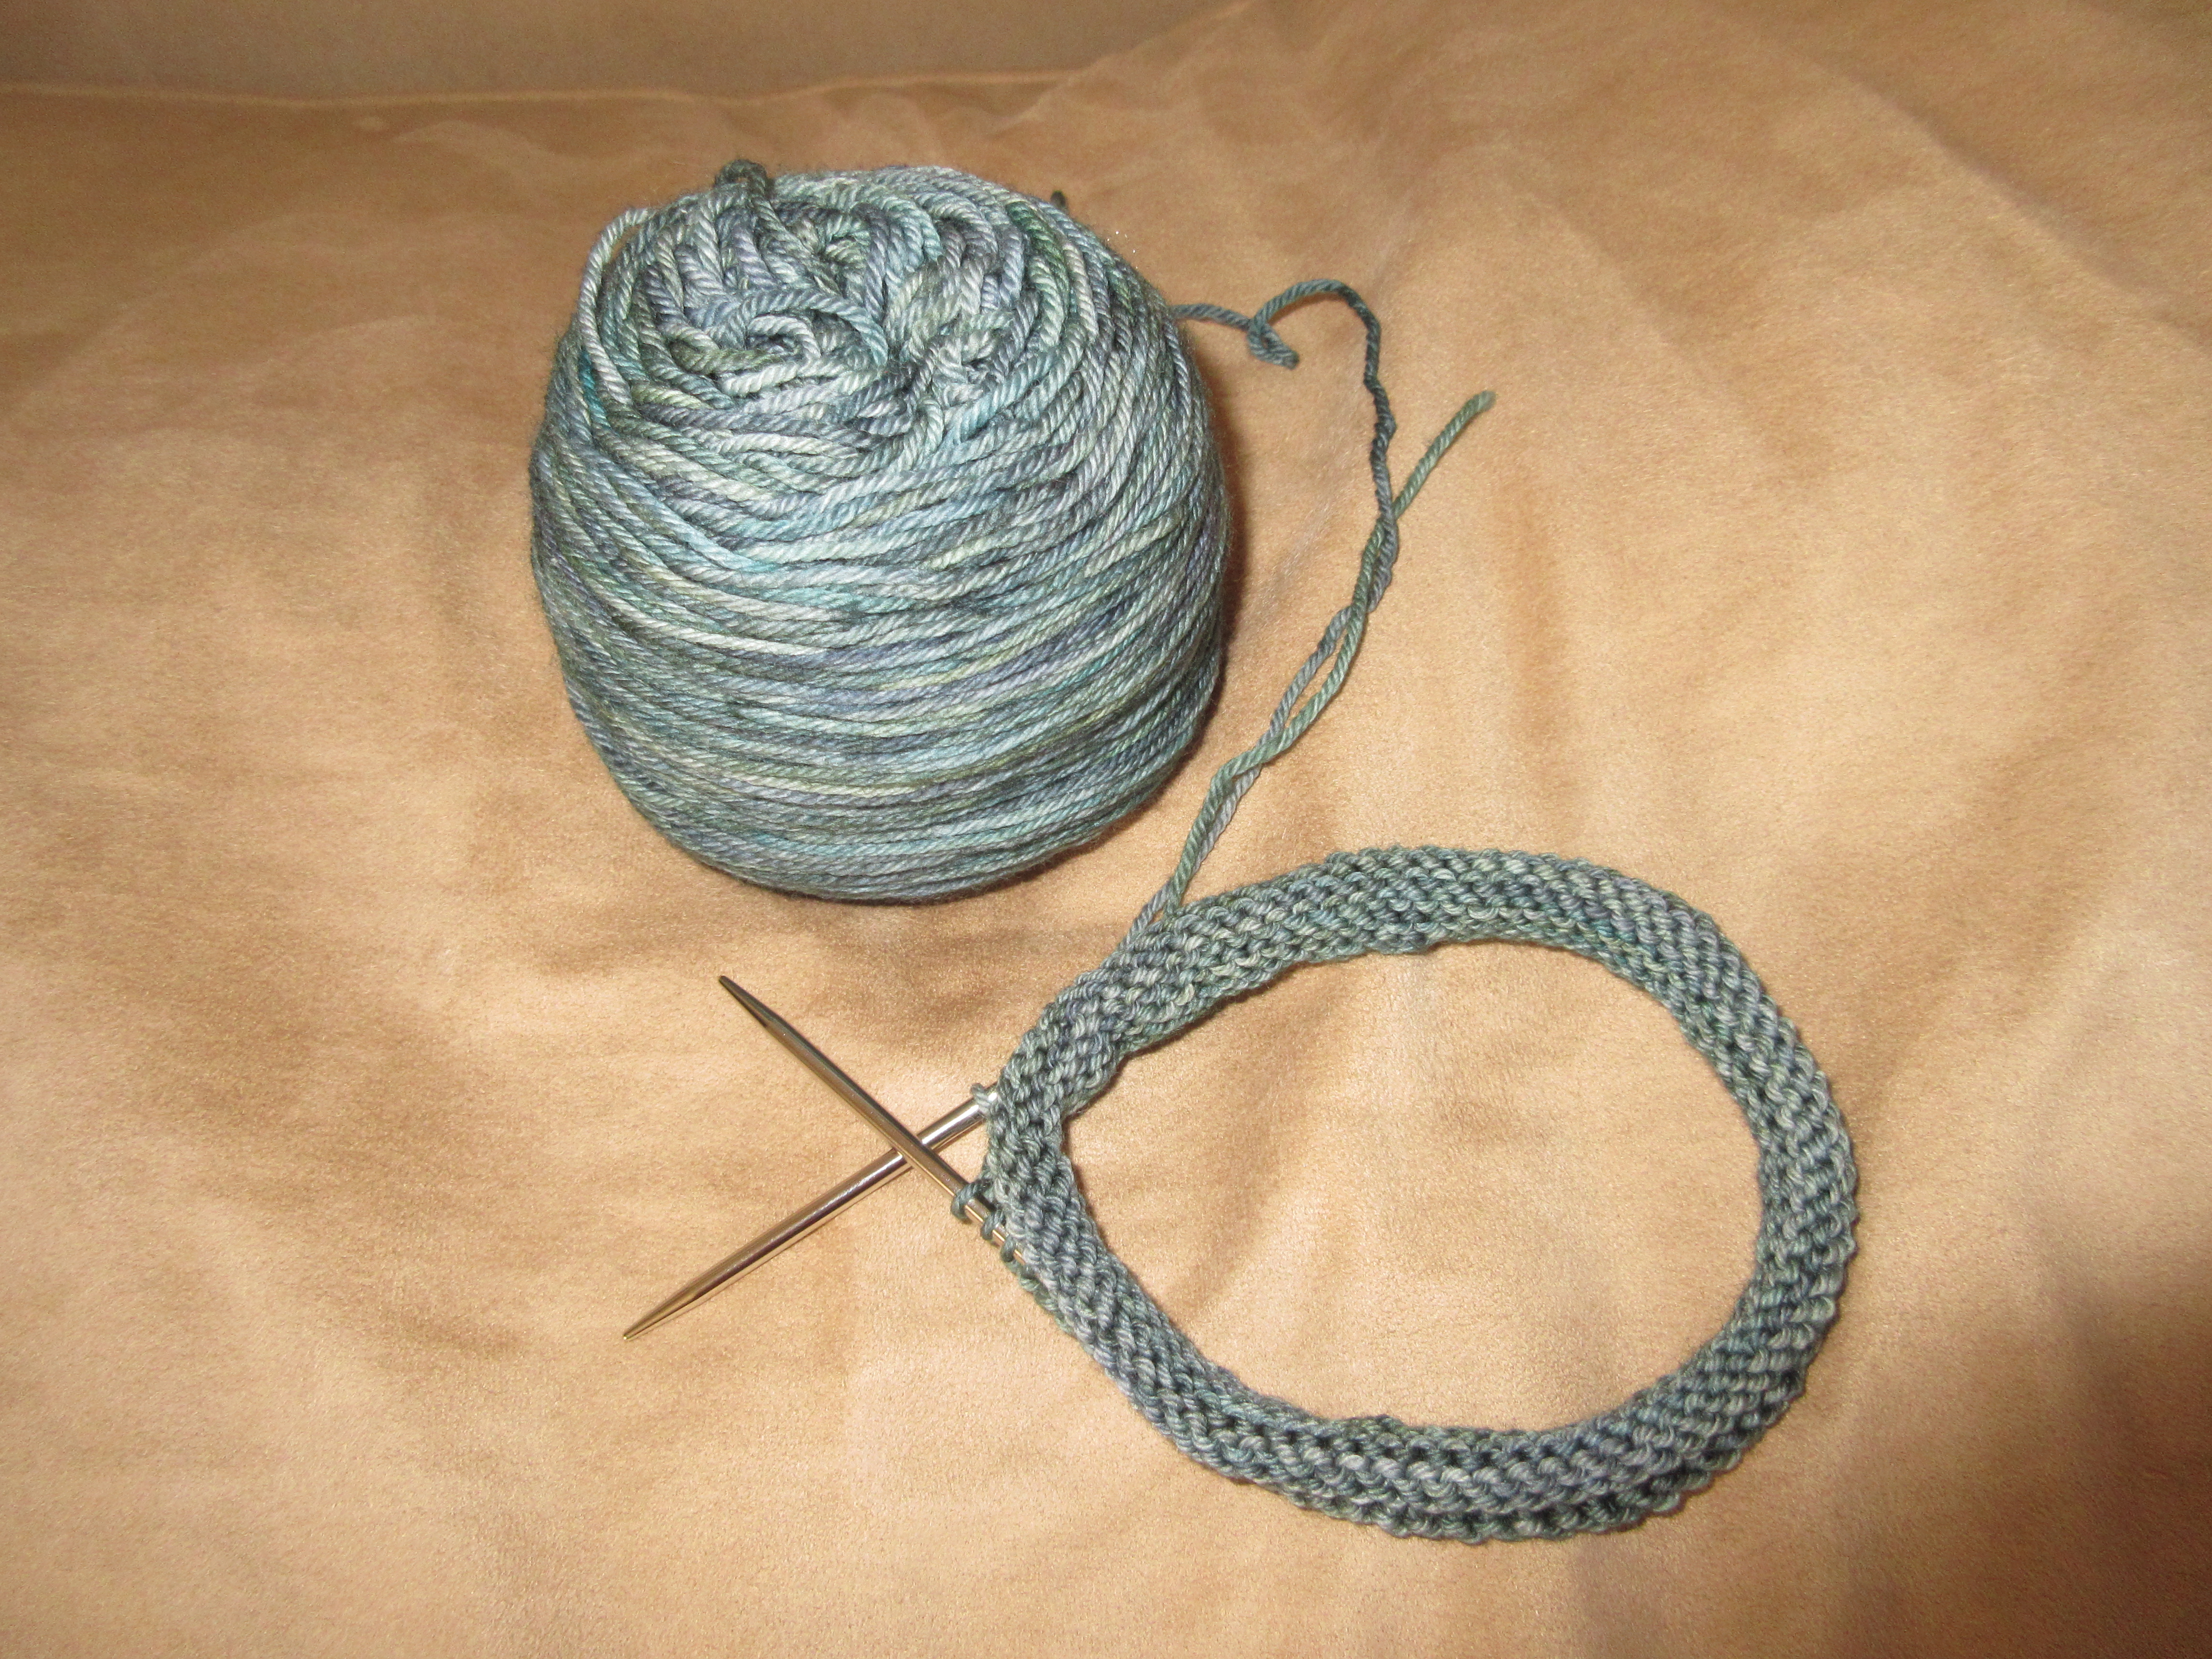
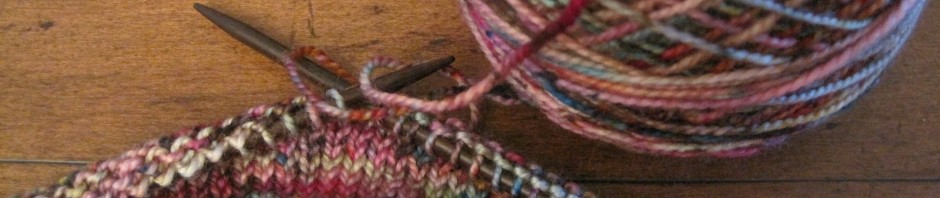
My second project takes old t-shirts and turns them into homemade yarn, which you can then use to knit or crochet whatever you’d like. ((Well, anything you’d like that can be made with somewhat chunky yarn.)) I’m bringing two items I created with my homemade t-shirt yarn: a snowflake trivet crocheted with undyed t-shirt yarn, and a small bowl knitted with t-shirt yarn that I first dyed using tea bags.
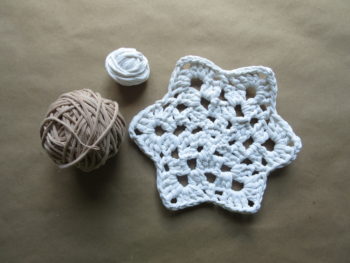
My crocheted snowflake trivet with a small ball of leftover, undyed t-shirt yarn, along with the full ball of t-shirt yarn I dyed using tea bags (and later used to knit a small bowl).
My family and I would love to tell you about our projects and teach you how to make them yourselves. If you can’t make it to the Benicia Mini Maker Faire, email us your questions, and check back here in a few weeks for my post with complete and detailed instructions for making your own homemade shrink art and t-shirt yarn. However, if you do make it to the Faire on April 2nd, please stop by our table and say hello!