What to Do with Variegated Yarn: The Hydrangea Scarf

My ball of the "Mother's Day" colorway and Hydrangea Scarf in progress.

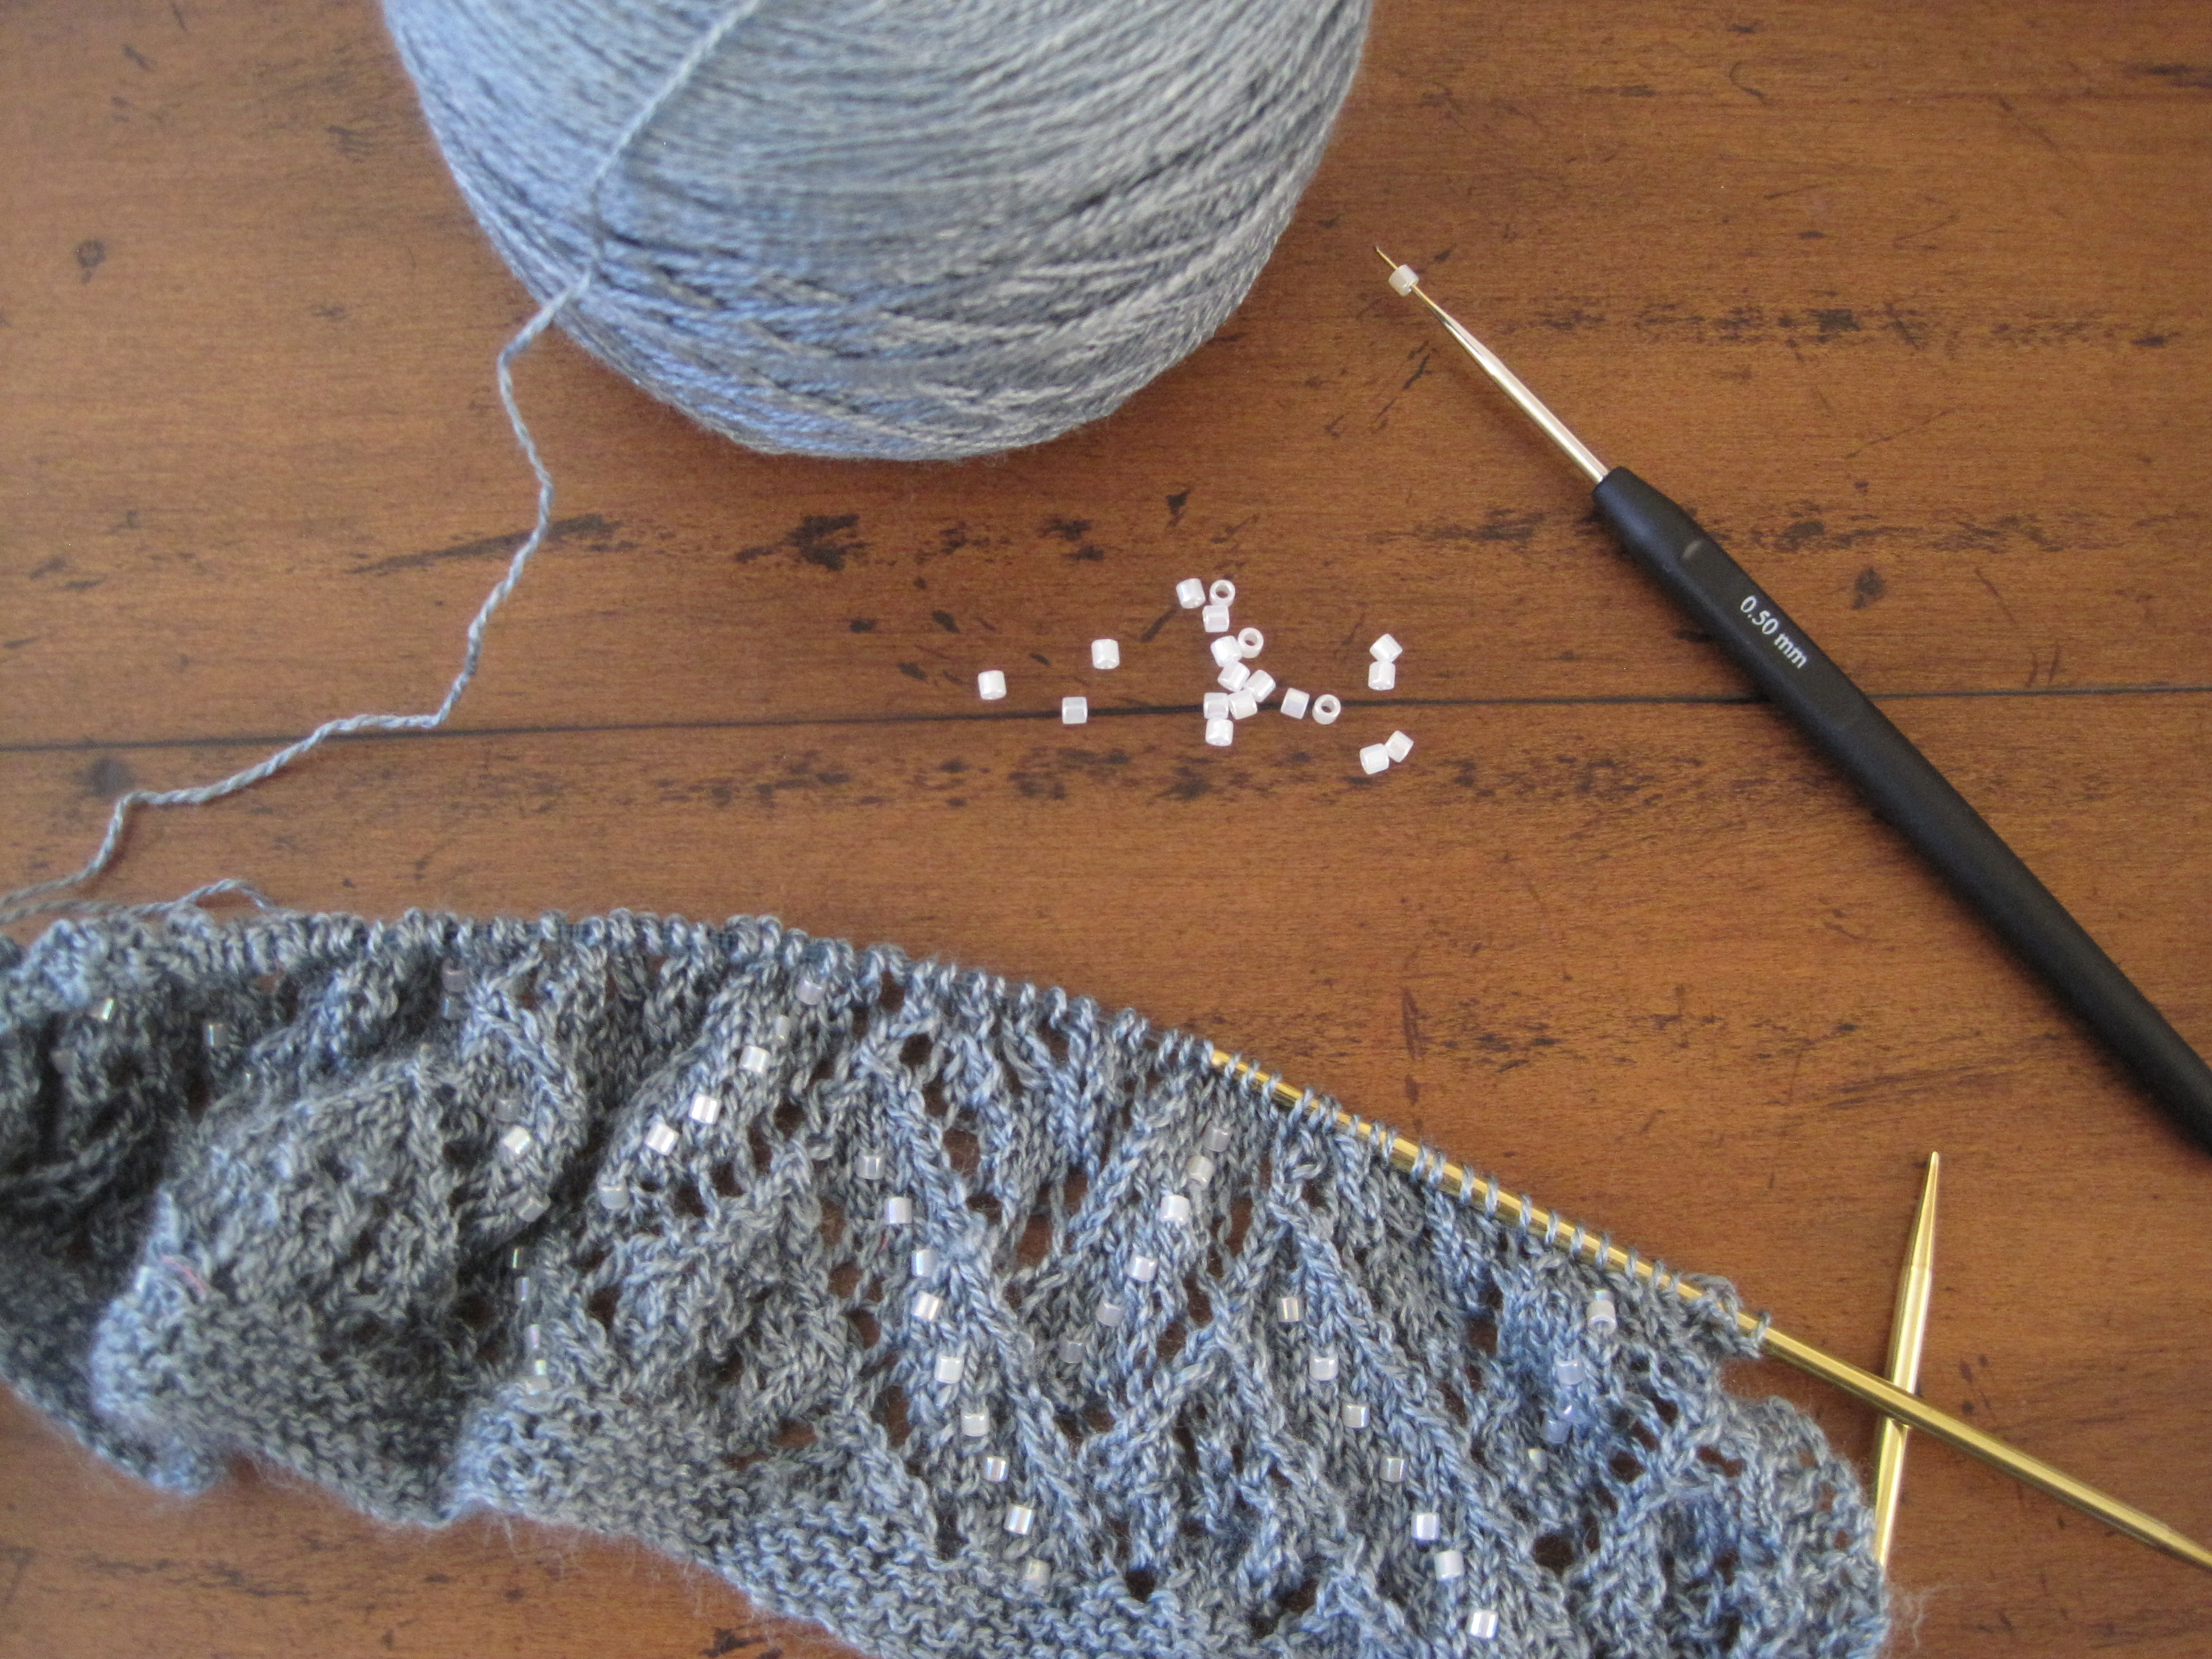
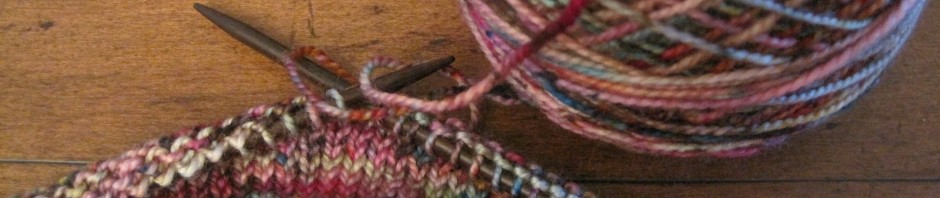
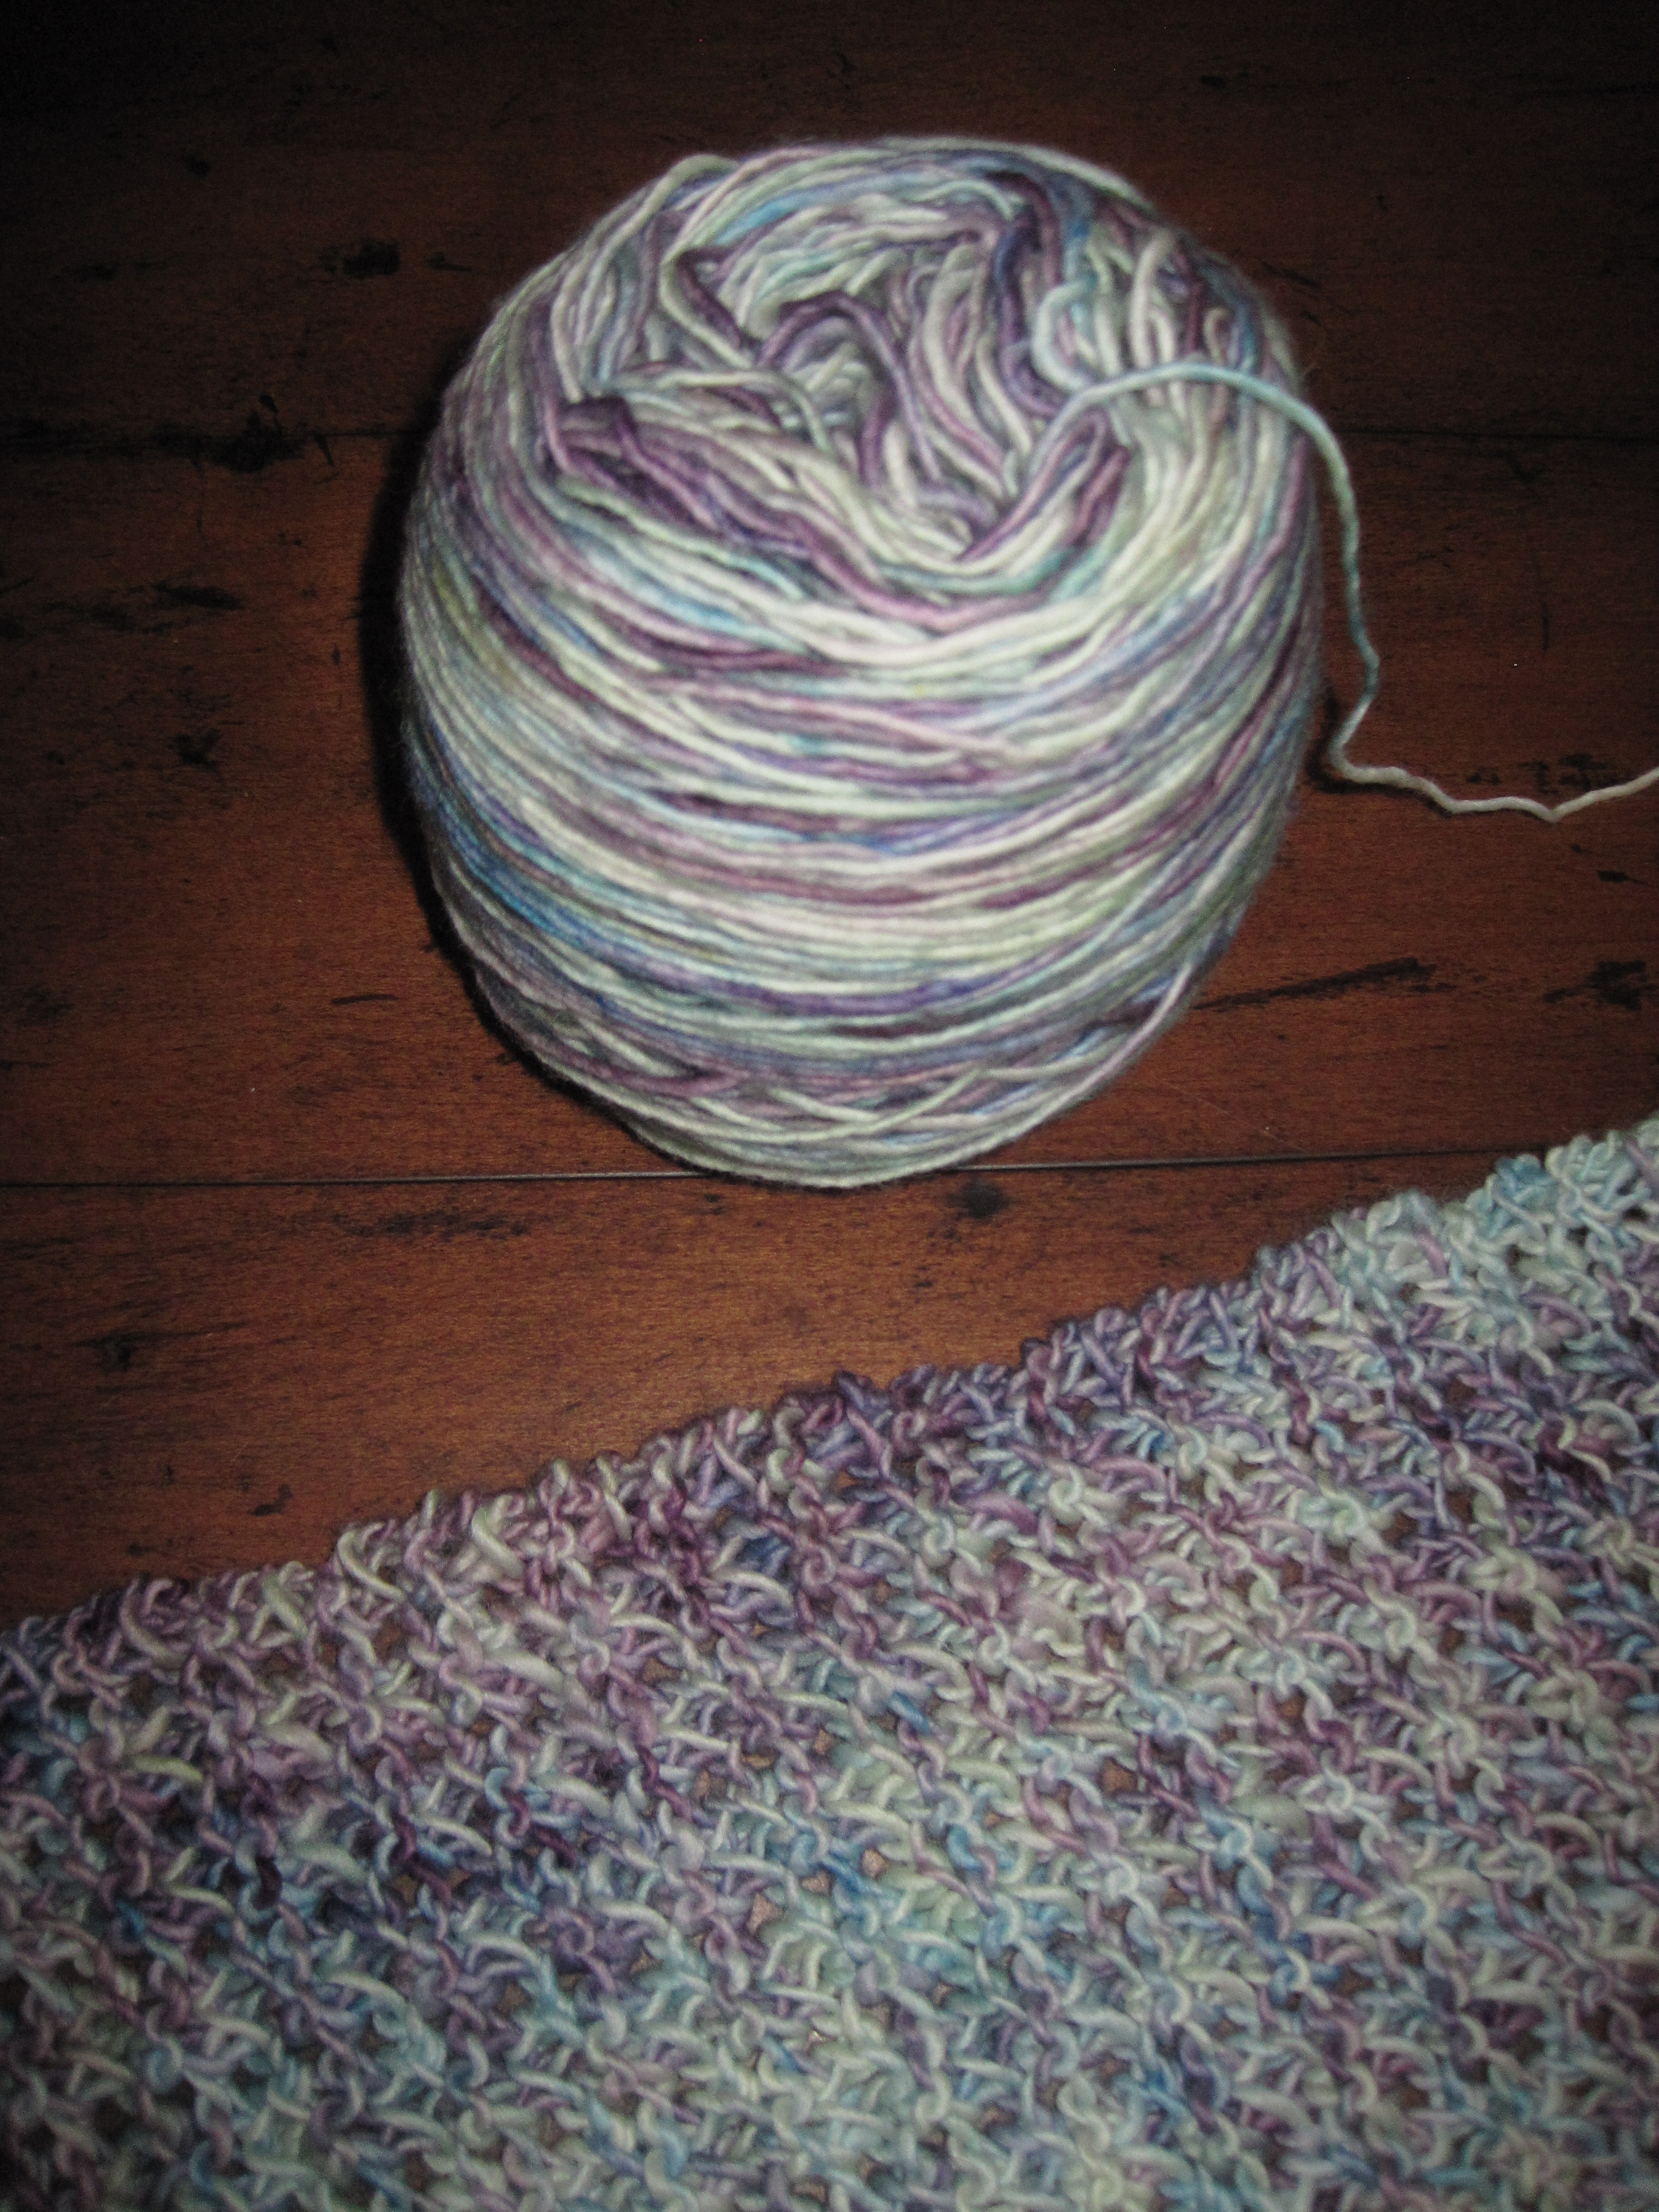
My ball of the “Mother’s Day” colorway and Hydrangea Scarf in progress.

I received one hank of Madelinetosh Tosh Merino Light in a Mother’s Day yarn bouquet last year. This specially-dyed yarn contained a lovely mix of shades ranging from off-white, to pale mint, to light blue, to lavender, with small specks of darker blue and deeper purple here and there. While there are many colors within the yarn, they complement each other and have a subtle appearance overall.

Since I only had one hank, I decided to make a scarf. I wanted a pattern that was simple, so it didn’t compete with the yarn’s many hues, but had some visual interest, so it wasn’t boring. And since both sides of a scarf are often visible when it’s being worn, I wanted a reversible scarf pattern.

The pattern I created is simple but has texture, and beautifully highlights the yarn’s changing hues. It is also completely reversible, thus ensuring your scarf will look fantastic no matter how you wear it. I called this scarf “Hydrangea” because the yarn’s colors—white, blues, and purples—reminded me of the colors of hydrangeas I most often see around my neighborhood and at the flower shop.

The colorway I used was exclusive to that Mother’s Day yarn bouquet, so unless you also received the lovely bouquet (and still haven’t used your hank!), you will not be able to use this colorway. However, Madelinetosh Tosh Merino Light comes in a plenitude of beautiful colors, and I am sure you could find a substitute colorway that will make an equally gorgeous scarf. You also could use any fingering weight yarn as a replacement.1 I just love the hand-dyed colors by Madelinetosh, but the interesting stitch pattern I chose for this scarf would be eye-catching with a solid yarn as well.

This scarf uses a twist brioche pattern, which creates a meshed and very stretchy fabric. The written instructions for the twist brioche pattern may seem complicated, but the pattern really is not. Check back in a few days and you can see for yourself by watching my demonstration video.2

My Hydrangea Scarf, after blocking.

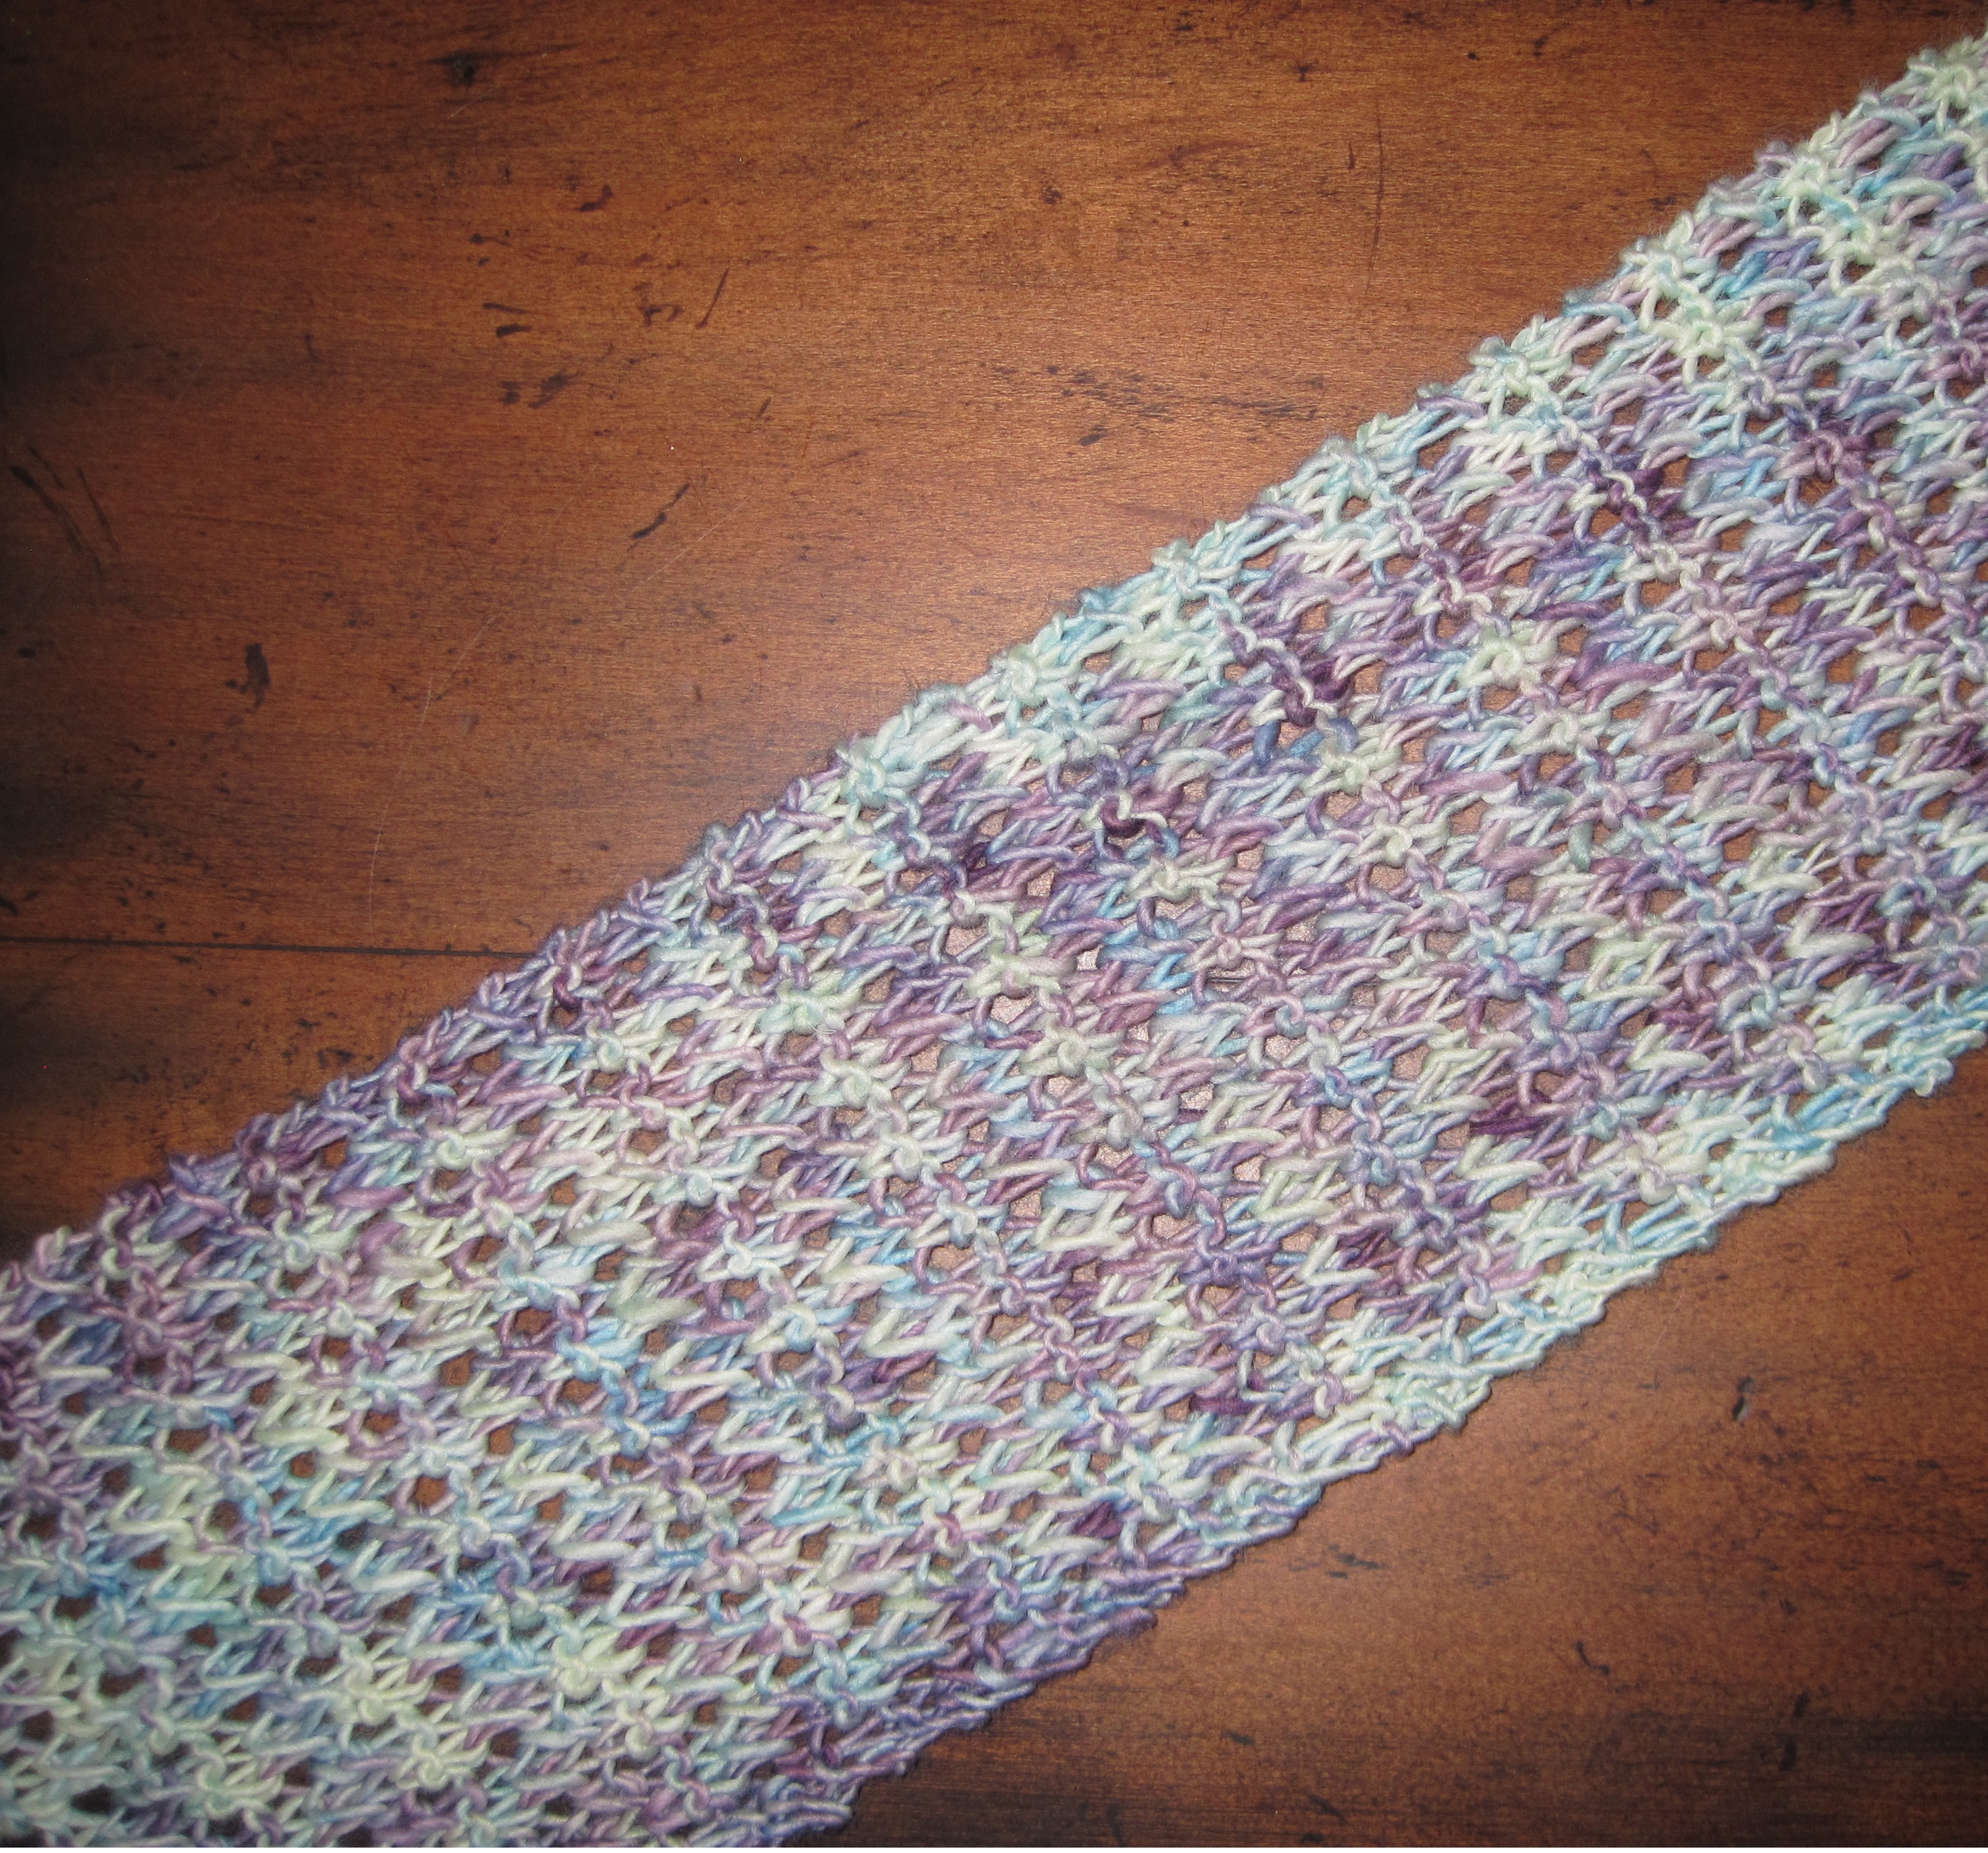
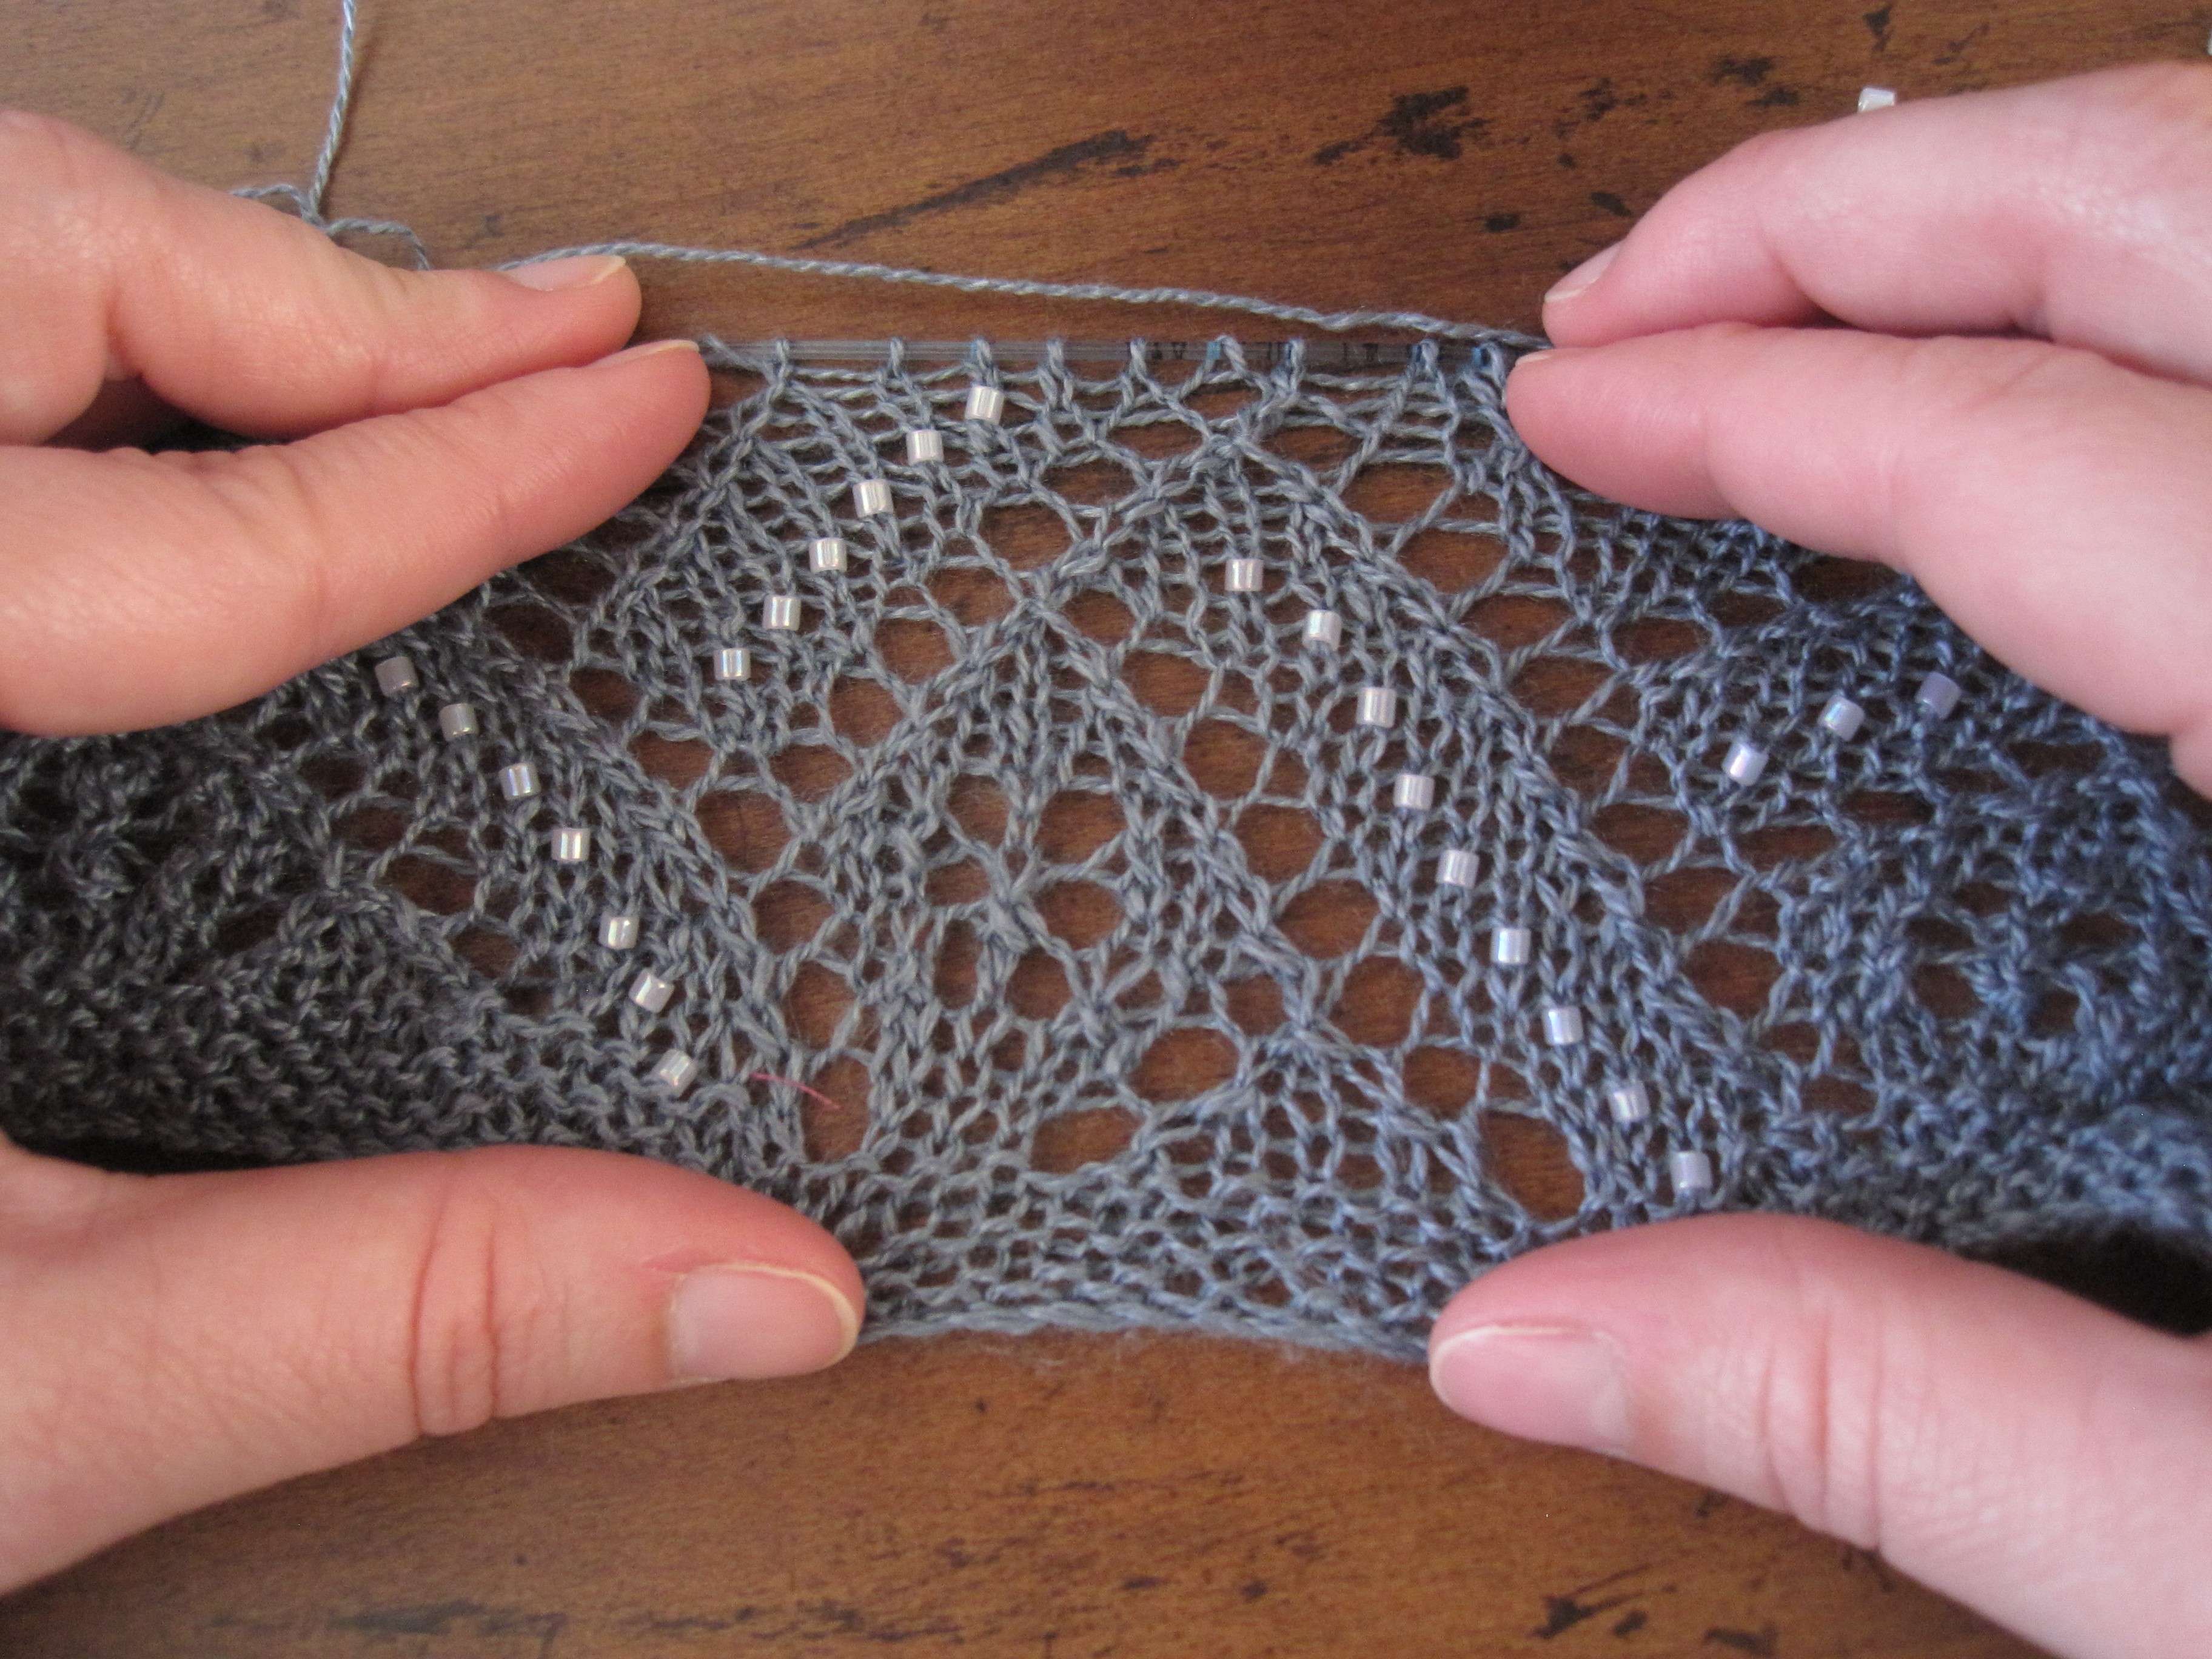
My Hydrangea Scarf, after blocking. The meshed fabric opened up and the pattern is much more visible. The scarf is also thinner and longer now.

Whether you choose to block your scarf is a matter of preference. Following this pattern produces a lovely scarf without any blocking. If you don’t block your scarf, it will remain about 5” wide, and you can just continue to knit until it is the length you desire. If you want to really see the pattern and prefer a thinner scarf, you can block your scarf. I chose to block mine so it would be 4” wide, which increased its length by about 45% (my finished, pre-blocked scarf was 55” long; after blocking it was 80” long). If you choose to do as I did, keep in mind how much blocking will add to the length of your scarf and stop knitting accordingly.

To make your own version of my Hydrangea Scarf, download the pattern here:

  1. You really could use any weight of yarn with this pattern. However, if you don’t use a fingering weight, you should make a gauge swatch so you can choose how wide you want your scarf to be and cast on the appropriate number of stitches. To keep the twist brioche pattern, you’ll need to cast on a multiple of 3 stitches plus 2. []
  2. I had intended to insert the video into this post, but I need help making the video and it just didn’t happen this week. Making the video is on my “list” for this weekend though, so check back next week. []
Posted in Knitting | Tagged , , , , , , , , , , , | Comments Off on What to Do with Variegated Yarn: The Hydrangea Scarf

Lace Knitting: My Maiden Voyage

IMG_8391

My beaded lace stole in progress. Beautiful yarn, great needles, lovely iridescent beads, and one teeny-tiny crochet hook.

As usual, I have a few different projects going at the moment, of varying types, sizes, and levels of difficulty. One project is a beaded stole using laceweight yarn. While I’ve done lacy projects and used laceweight yarn before, this is my first time using them together, for a true lace knitting project. And it’s beaded to boot.

The project is “An Elegant Beaded Lace Stole,” by Anniken Allis, found in the Fall 2013 issue of Knitting Traditions magazine. Not only is the finished stole beautiful, but I thought it would be a good first-time-lace-knitting project because it’s smallish,1 uses larger needles,2 and you add the beads using a crochet hook as you go along.3

This is what the pattern will look like after blocking, when the lace really opens up.

This is what the pattern will look like after blocking, when the lace really opens up.

Since this is a beaded lace project–with a lace chart to follow and beads to be placed–and because it’s my first true lace project, it requires paying attention. Which translates to knitting when I can see well, have no distractions, and am not tired. Needless to say, it’s slow-going.

But I am making progress: I just finished row 24 of my first repeat (it’s a 32-row repeat, that you do 4 times to complete the stole), and I can actually see the pattern taking shape, which is very exciting. So while overall my progress is sluggish, I am enjoying the journey and the variety that this project adds to my group of on-going projects.

When I finish my stole, I will write about it again and post more photos. But it’ll be a while….

  1. There are 267 stitches per row and 140 rows to the entire stole; after blocking it should be 14.5″ wide and 61.5″ long. []
  2. The project calls for size 4 (3.5 mm) needles, which is large-ish for lace knitting. []
  3. They don’t have to be prestrung! []
Posted in Knitting | Tagged , , , | 1 Comment

Blocking My Beautiful Radiance Scarf

IMG_8224

My beautiful Radiance Scarf, blocked and ready to wear.

Yesterday I finally got around to blocking my Radiance Scarf. It was so quick and easy, and now my pretty silk scarf is even more attractive. You can really see each of the lovely floral motifs now that they lay flat, and the scarf hangs beautifully.

I chose to steam block since my scarf was made with 100% silk yarn (and is beaded). It worked incredibly well.

I got out and set up my blocking tiles. If you don’t already own blocking tiles, I highly recommend getting some. The set I have consists of 9 textured foam tiles, each 12″ square, with interlocking edges.1 They are particularly great since you can configure them to fit whatever you’re blocking, and the foam surface holds pins in place nicely. Additionally, they’re easy to take apart and store in a small stack. Blocking tiles are all-around fantastic things to own.

Since my scarf was long and skinny, I set out my blocking tiles in a 2 x 4 grid to accommodate that shape. I set my iron on a low heat setting2 and started with medium steam (I set the dial half way between minimum and maximum). After the first motif, I increased the steam to almost maximum but still kept the iron on the low heat setting. More steam worked better–it was easier to open up the motifs with just a few blasts of steam.

Pre- and post-blocking comparison: the top row of motifs has not been blocked; the bottom row shows what they will look like after blocking.

Pre- and post-blocking comparison: the top row of motifs has not been blocked; the bottom row shows what they will look like after blocking.

Holding the iron pretty close–about 1/2″ to 3/4″ above–but never touching the scarf, I steamed a single motif with 3 to 4 bursts of steam then used my fingers to shape the motif by pulling the chained loops outward and spreading them apart. I then used another burst or 2 of steam to set the shape and I readjusted any parts of the motif if needed.

On the very first motif I blocked, after steaming and shaping it, I pinned each of the six chained loops, but that made the loops quite pointy. I wanted rounded loops, like the petals of a flower, so I chose not to use pins for the rest of the scarf. I also didn’t want uniformity for each motif–some variation in a handmade item is nice. I wasn’t looking for “perfect” so I chose to use just my fingers for shaping the rest of my motifs and I am quite happy with the results.

Full view of my blocked and ready-to-enjoy Radiance Scarf.

Full view of my blocked and ready-to-enjoy Radiance Scarf.

Blocking my scarf changed the size of each motif (but in a good way!). Before blocking, each motif curled somewhat and was about 2″ to 2.25″ in diameter,3 and the overall scarf was 80″ in length. After blocking, each motif laid flat was really opened up. The post-blocking diameter for each motif is about 2.5″ and the scarf is approximately 91″ long.

  1. I purchased my set online from KnitPicks for about $25 and am very pleased with them. []
  2. For my iron, the suggested setting for silk was level 2. []
  3. The variation is due to how much I pulled on the motif in trying to get it to lay flat so I could measure it. Also, each motif is a little different. Since I’m not as good a crocheter as knitter, my tension is not consistent and some of the chained loops are “loopier.” So the pre-blocking measurements are dependent upon how and where I measured. []
Posted in Crocheting | Tagged , , , , , | Comments Off on Blocking My Beautiful Radiance Scarf